I don't sew much outside of quilts and I'm not sewing with a lot of diverse fabrics like someone who makes garments, so my thoughts on needles are solely focused on sewing with primarily quilting cottons. But that being said, I have tried them all, and over the years learned a few things about needles, because I like to nerd out on these things.
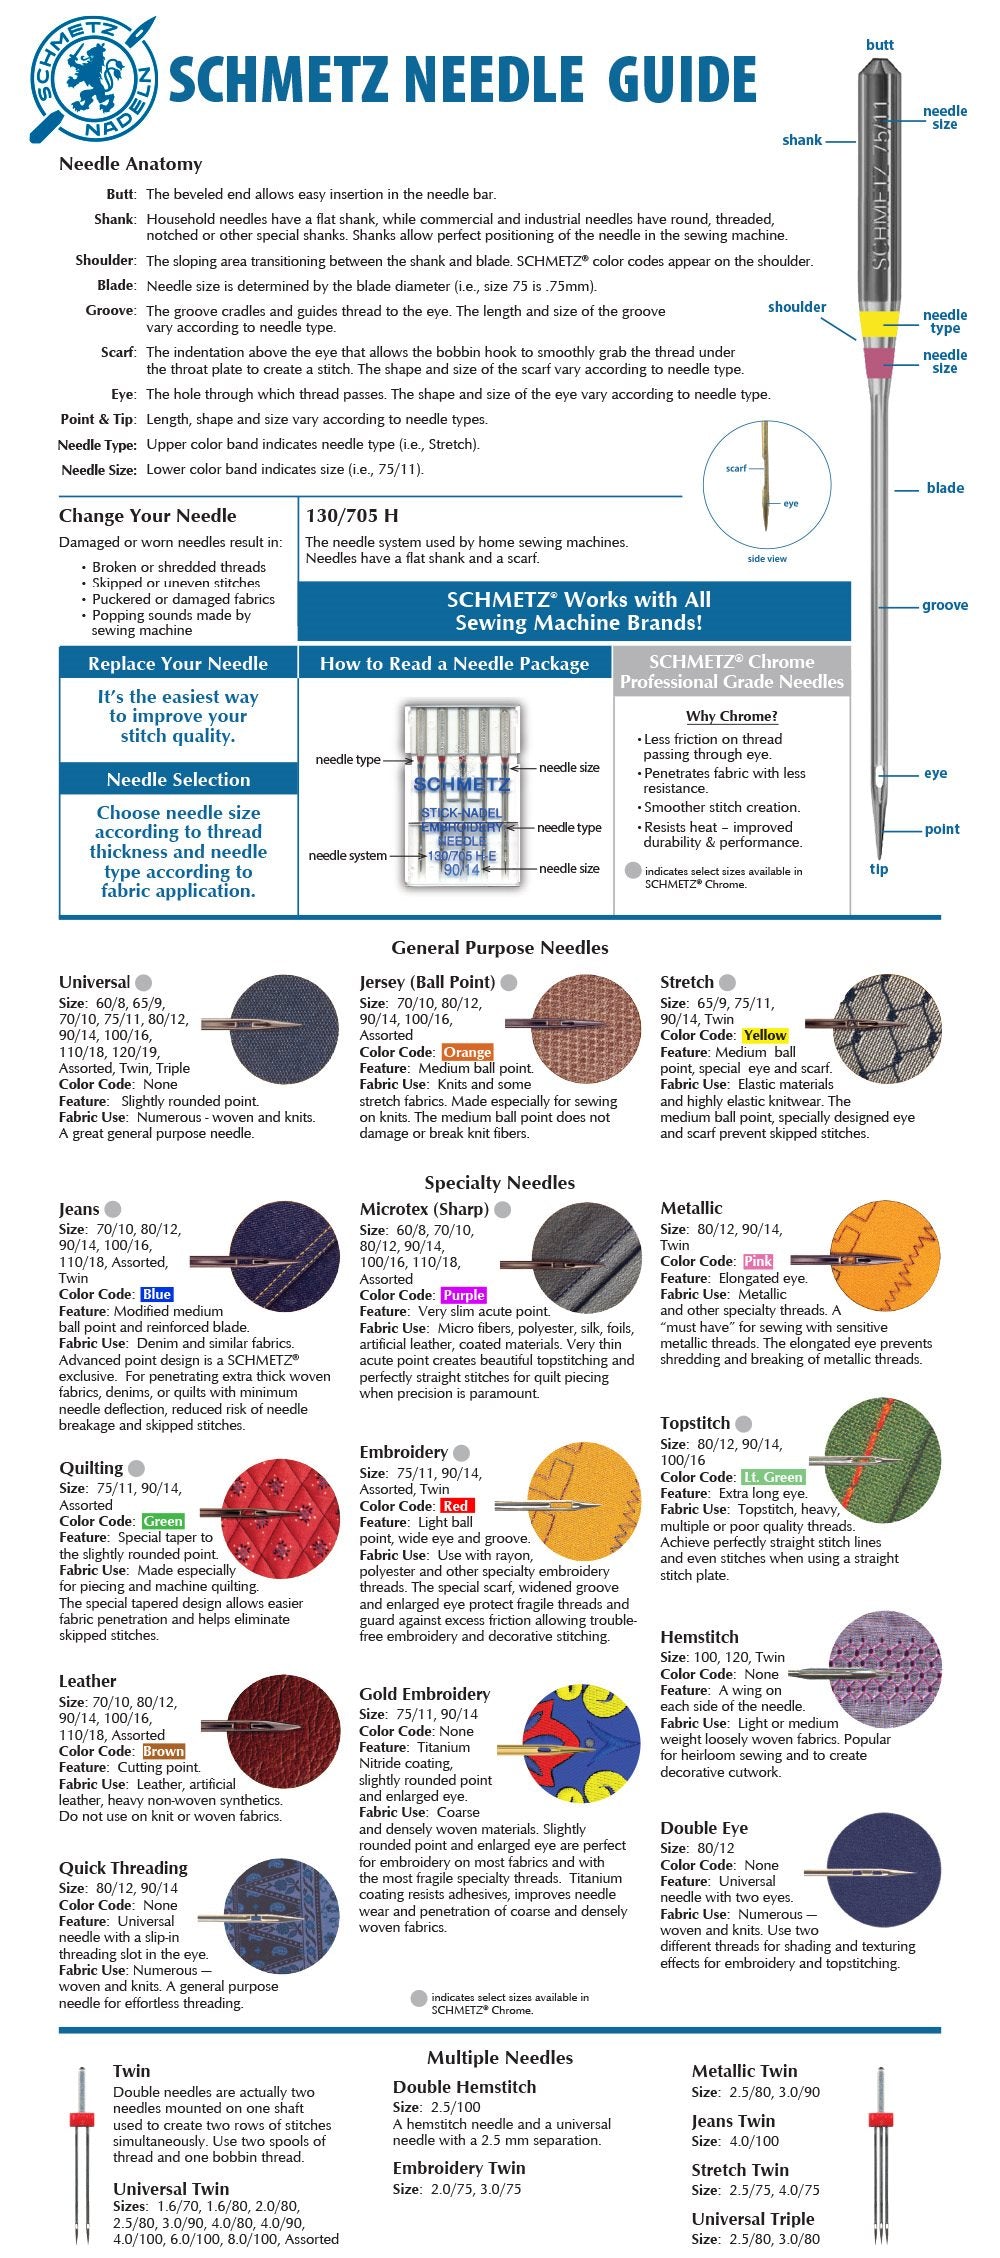
You can really fall down a rabbit hole looking at the Schmetz Needle Guide thinking about all the options for choosing a needle. Like a lot of things in quilting, there are a lot of right ways to choose a needle and a lot of it comes down to personal preference (not to mention how fussy your machine is!).
Piecing:I prefer an 80/12 Microtex (for use with 50 wt. cotton thread) while my operations assistant, Chelsea, prefers a 70/10 Microtex. They have a slim, acute point which helps with precision piecing.
Machine Quilting: I prefer a 90/14 Microtex here for the same reason, it has a very acute point for nice accurate stitches. There are multiple schools of thought on if you need a bigger needle for quilting because you're going through more layers. I lean towards 90/14 as a general rule (unless I was planning on using some enormous thread that would need a larger eye to pass through and usually when I do that, since I like to hand quilt, I would just hand quilt it then). Chelsea often machine quilts with a 50wt thread and uses a 70/10 Microtex because the weight of the thread is matched to her needle size.
Metallic Thread: When I quilt with metallic thread, I use a topstitch or metallic needle, size 80 or 90. Both of these types of needles have a slightly rounded point and the metallic needle has an elongated eye, which is supposed to help the thread pass through without fraying. Keep in mind not all metallic threads are created equal (I only use Schmetz needles) so results may vary. Also a little tip for metallic threads - use a thread conditioner and loosen that top tension!
Changing my needle: You're supposed to change your needle every 6-8 hours of sewing. Since quilting is mostly not actually sitting at your sewing machine (cutting, ironing, need a snack, move the cat off the fabric pile, seam ripping, etc.) it can be hard to gauge when you've hit that mark (unless you have a really fancy computerized sewing machine, which I do not). I don't change mine nearly often enough. If the machine starts to act weird, sound clackity, skip stitches, then that's usually my trigger to change my needle. Or when I stop to wind bobbins, i'll clean out the machine and change the needle too. One last note-I found no difference with the more expensive Chrome needles when I tried them in terms of longevity, so I just buy the "normal" ones.
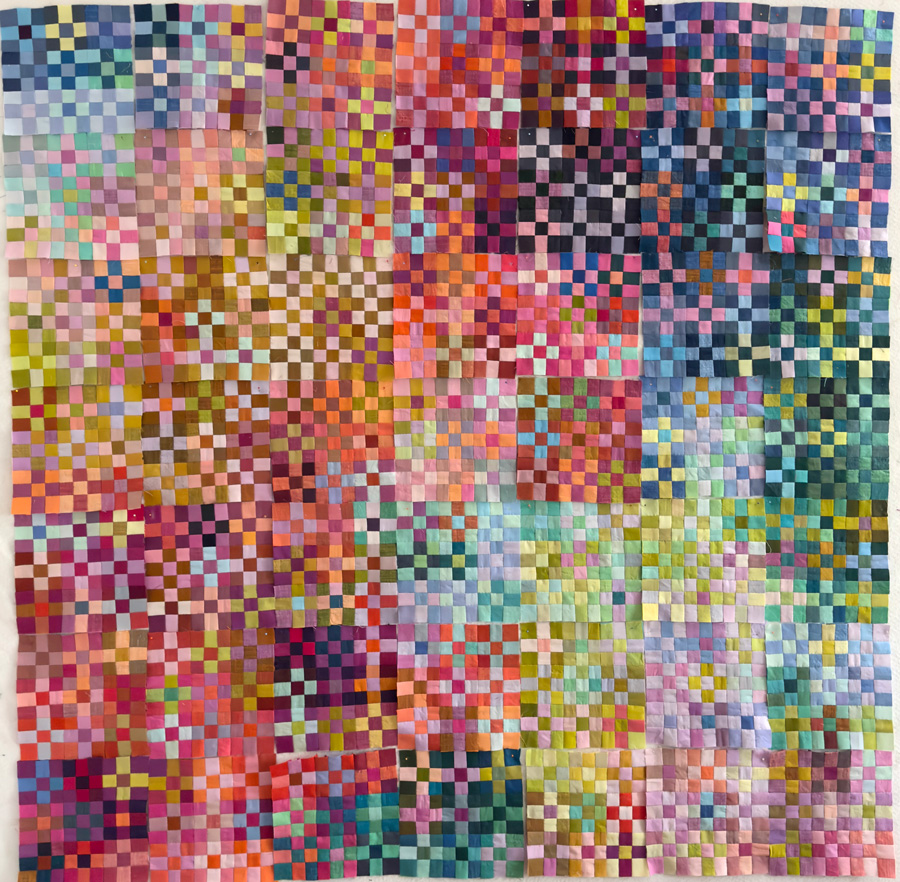
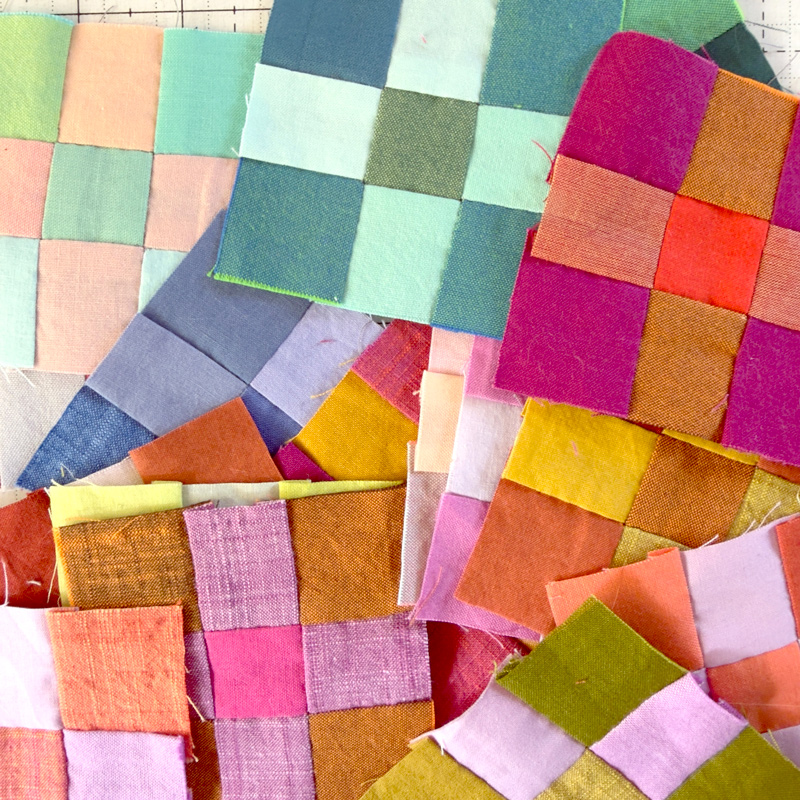
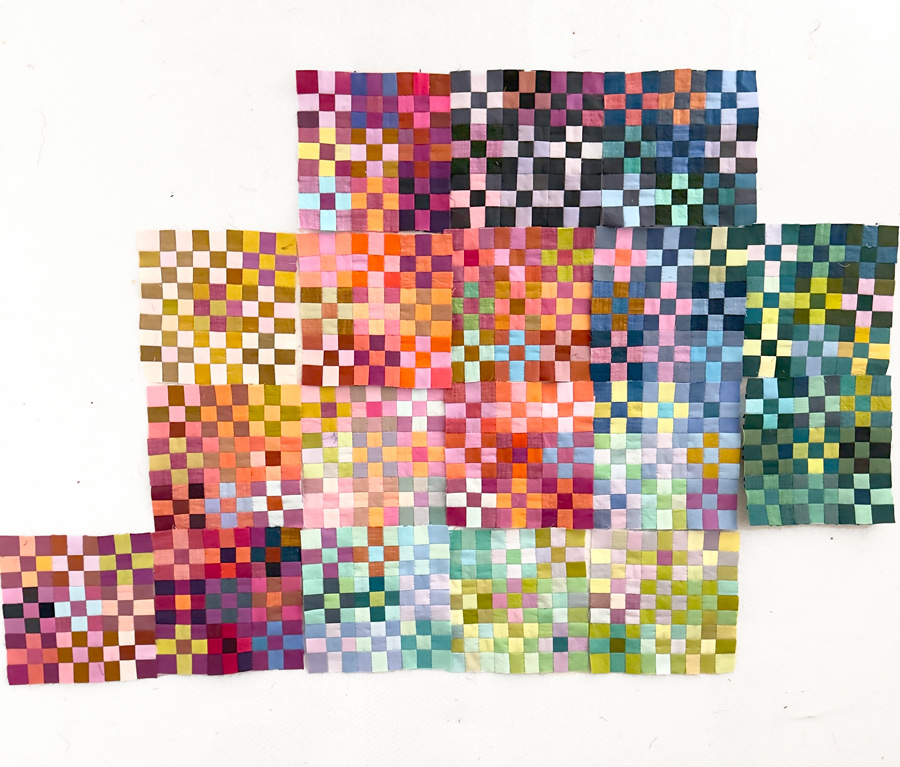
If you follow me over on Instagram, you'll know that for months, I've been making and posting photos of nine-patches. And if from those pictures you couldn't tell, they're really itty bitty.
I started cutting 1.5" squares so I’d have something to sew on the couch at night. No plan. No color palette. No real vision. Just a box of tiny squares to hand sew while binge watching TV.
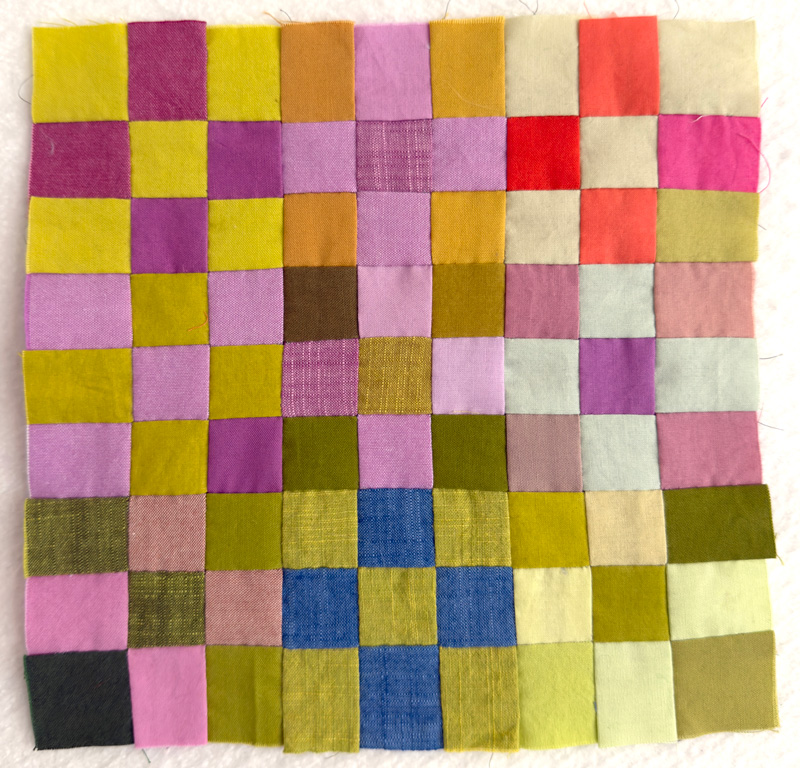
Each nine-patch wasn't related to the other. I just choose color combinations that made me feel excited. I might start with only two colors in a 9-patch, then I might do two colors, but make the center square a third pop color. Then I might getreallycrazy and do all blues, but have 9 different blues and vary the value to still give that 9-patch checkerboard feel, but with only one color.
And I just kept going... ... and going and going.
I made about 150 blocks before I had even the faintest idea of what I was going to do with them. They piled up in my sewing room, cute tiny 9-patches with nowhere to go. Until one day, I decided maybe I needed to start trying to make them into a quilt instead of a pile.
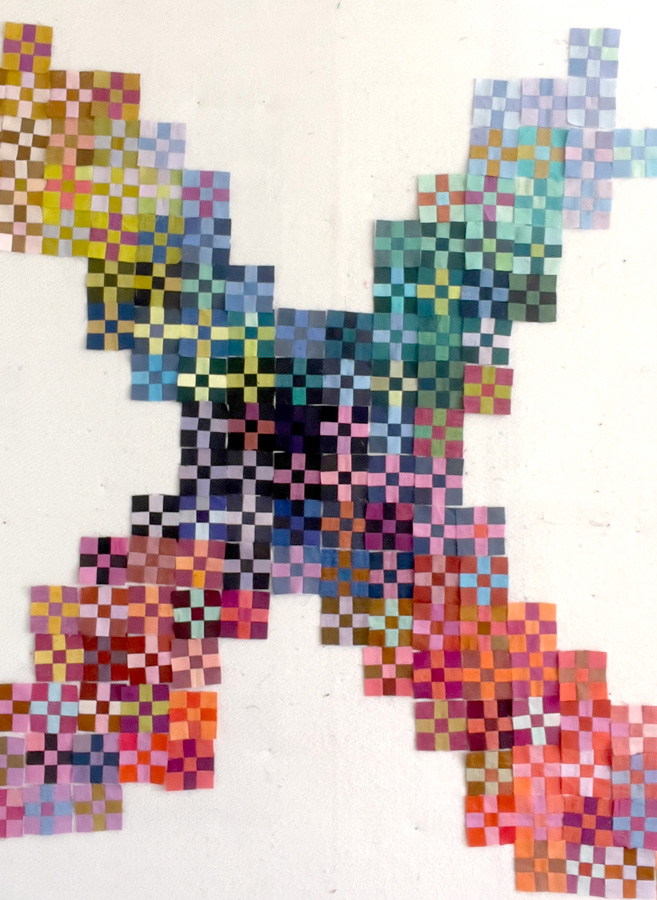
I laid them out on my design wall in an X pattern, and stood back and observed. And after a bit, I took everything off the wall because I didn’t know what I was looking at and I still didn't know what I was doing with them and I was resisting feeling unsure...
So back into a pile they went. But, as I really liked making them, the pile just kept getting bigger.
Still lacking a vision after months of sewing these, one day I decided I had so many, what could it hurt to just sew nine of these wee blocks together and see what happens. I thought I could just mount little blocks on canvas if I could not figure out an entire quilt design.
And I really loved this little piece!! So I made another. And another...
Somewhere along the way, the colors started doing something interesting. I was clustering blocks by background color and letting that do some of the work. Not because I had a plan (I did not have a plan), but because I started paying attention to what I was seeing. I was observing and responding.
This quilt was basically evolving in real time. I was making blocks on the couch, adding them in to the layout, stepping back, noticing what I saw, and repeating that over and over again. It was (and still is) a slow process. And even though it might look like chaos… it’s not random!
There are things happening in this piece with value, saturation, contrast and color relationships that I’m not trying to control! I’m just trying to notice them as I go and deciding what to do next.
AND IT FEELS FREEING!!
And this process is exactly what we’re going to be doing in Color Camp! Color Camp is not about giving you a perfect palette or telling you what colors go together.
It’s about helping you see what’s actually happening so you can make your own decisions, whether you are planning everything out or fully in “eff it, let’s see what happens” mode 😂.
We’re going to pair colors, break them, fix them, push them too far, pull them back, and figure out why something works or doesn’t for us. Because color is highly personal. It's not about what is right and wrong according to me. It's about working with it in a way that only you can work with it and developing your own color intuition.
And yes, if you’ve taken my 6-hour color class before, this is a full expansion. More exercises, more depth, more time to actually get deep into it. We will not only explore color interaction, but go deep into how to apply it to your quilts, and dive into palette building too!
Honestly, I think this is the best course I’ve ever made. It is truly what I want to share about how I see color, use it and open the doors to new pathways.
Color Camp starts June 1st and registration is open now.
Come make a beautiful, slightly wild, deeply intuitive color mess with me this summer! Explore the humble 9-patch with me! Once you sign up, there are already a slew of videos waiting for you to help you get ready for all the fun.
I have used these recently (12 and 8 ply) for hand quilting woven Japanese fabrics. I love them but... they do unravel and break sometimes, compared to the DMC 8 ply.
I was searching for 'best thread to hand quilt liberty' and came across this blog post that is quite damning of them.
Nicholas Ball was my number one choice for a class at the 2024 Quilt Symposium in NZ but he has apparently pulled out (mumble curse grumble) so I have been watching some of his demos on Youtube. Great tips in them, probably all in his book that I do own - note to self, read the book.
Interestingly the details of how to sew a curve are much better in the demonstrations than in the book. In the book, he says to align the top of the fabric but in the demo, he says to align the curves. And in the demo, he shows how to hold the top and bottom fabrics separately and how to bring them together to butt against the seam allowance gadget. Also, he talks about cutting and sewing in one continuous motion if possible in the demos.
With inserts demos he talks about his preference for a 'little bit' more than 3/4" wide strips being a good width for most pieces but if using a large beginning piece make the insert strips a bit wider. He also talks about cutting layers of fabrics so you can then mix and match different fabrics from the layers to make an interesting set of blocks - covered under Stacks in the book.
No rings demos. In the books the triangle instructions are good - great hack to save fabric however in the demo he gives a hack for if your background fabric is a patterned fabric.
There is more in the books than the demos.
With binding he joins straight no on the bias, he attaches much as I do with the mitred corners and he joins the continuous binding straight not on the bias. Interestingly, he then sews around the whole binding 1/8" from the sewing line to anchor the quilt and the binding seams togethers. He says it folds over better and no ridges are formed.
This is a good basic video on basic troubleshooting problems.
I have been free motion quilting a community quilt and again am having issues with skipped stitches using my BSR. This has been an ongoing issue which at times has improved but always seems to return. It is extremely frustrating. Today I cleaned and oiled my machine top and bottom as I always do, put in a titanium needle and am using Aurifil thread. The default stitch length with the BSR is 2.00 which is quite small. I increased it to 2.25. When you look closely at the stitching there are regular stitches that are longer than others. These I believe are skipped stitches. Sometimes there are smaller stitches, possibly when the quilt is dragging, so ensuring the quilt is loose enough to move easily is important.
I have been searching the internet for answers. One post mentioned something about cleaning the lens on the foot. I didn't know the foot had a lens! Upon inspection it does. Mine had a distinct mark or smudge in the middle of the lens which I cleaned with an earbud.
Below is a link to one blog post with a comprehensive list of things to check. I will make a sample to work through them and report back. My first test will be with my now clean BSR foot. And to inquire about having the software in the foot updated!
The default stitch length is 2.0. At the very beginning this preset felt jerky as I tried to stitch. I felt like someone put training wheels on my Trek 750T. Aside, I am a pokey quilter. If you’ve ever watched me stitch the machine is at a medium speed, not full tilt. I have good control of the stitch length because my hands and the machine speed are coordinated.
Reducing the stitch length to somewhere between 1.5 and 1.9 (yes that .1 mm makes a huge difference in the responsiveness of the BSR) made the BSR much more responsive to my hand movement; meaning the training wheels were taken off and there was no jerky movement as I stitched.
And here is an update from the blog above about stitch lenght with more info:
Sometimes the problem is the type of needle you are using (Universal, Quilting, Embroidery, Microtex, etc.). I was having this problem when I was freemotion quilting using the BSR but it improved immensely when I switched to a Topstitch needle, size 90/14. But it is always a good idea to have your machine serviced annually, especially if you sew a lot.
It could be timing but mire than likely it's a threading issue. I work in a quilt store and sell berninas. Someone above mentioned it. Mut make sure when you are threading that your presser foot is UP. When you thread with it down your tension disks are clamped closed and it doesn't thread properly causing all kinds od problems
I quilt with a Bernina 440QE and an 820 with the BSR - I've only had skipped stitches when using too small of a needle. Shmetz Topstitch is my favorite...size depends upon which thread I am using.
Its possible that someone else already said this but heres my take. I have the 440 QE less than a year old. I was having some issues with my BSR skipping and so my wonderful girls at Modern Domestic had me bring my BSR foot in to update its software. They plugged it in to the 830 (which automatically updates it) and the problem was gone just like that. Also you need to make sure that the little eye of the foot is clean. Mine had some starch residue on it, cleaned it with a damp qtip and it was just fine. I hope you get it sorted, that is SUCH a bummer.
And more - maybe you can start in 1 to secure yours stitch then change to 2?
When I first started using BSR I also liked BSR 2, but I have since grown to love BSR 1 I like it because I can do a few securing sitches before I start quilting.
This is an excerpt from a blog explaining all about the BSR. It is the one explanation I have found of how to tell which mode you are in:
BSR also has two modes, 1 or 2, you know a mode is chosen when it is dark grey (the button looks depressed)
Mode One
Mode one is my preferred mode, but I don’t think you should start here.
In mode one the needle will keep moving whether you are moving the fabric or not. I love this mode because it helps keep your free motion quilting smooth and facilitate the stitching of smaller motifs.
Mode Two This is the mode I recommend while you get comfortable using the stitch regulator. In Mode two the needle stops when you stop moving the fabric, this is typically less stressful for stitchers as they get used to the feel of free motion with the BSR.
Update to this post November 2024
I have just finished free motion quilting a queen size quilt for my daughter using a meander leaf design that matches a leaf in the fabric. I did not have issues this time with skipped stitches. I used a titanium quilting needle size 12, which is really strong and 30 thread top and bottom. I fully cleaned the machine at least 4 times in the process of quilting it. I have my speed set at 1/3 (Bernina rep told me it does make a difference) and made an effort to go at a moderate speed. Yes, I can go faster but, I think it is neater when I slow down and the machine copes better. I also have used the Jeans 12 or 14 foot, these are really strong and I still think the Schemtz quilting needles are good more for smaller quilts where the work is finer and you don't have the weight of a big quilt pulling on it.
My biggest issue is not getting an 'out of line' stitch when I start again after a stop. I'm tryint to check there is no tension on the quilt and to put my hands right around the needle to hold the quilt and start real slow. I also understand Mode 1 more effectively and put my foot right down and do not 'attempt' to adjust speed by raising my foot which doesn't work and which I was unconsciously doing for years. although there are still times when I put my foot down to start and nothing happens. Just give it a minute and be patient.
I have been having issues with the machine faulting - just stopping sewing and raises the foot - but the almost excessive cleaning may have helped this as it stopped doing it by the middle of the quilt.
I remembered seeing this on some form of social media, went hunting and found it! I used long sharp heat resistant pins and added a third pin to guide the fabric before it hit the iron. It worked amazingly well, the neatest binding I have ever made with no burnt fingers. My ironing board coped well - I have one of those metallic ironing board covers - and using steam I think prevented any scorching of the fabric. I did do it one section at a time.
I believe I've got this continuous binding technique mastered. A couple of reminders:
Trim your quilt corners before sewing on the binding because it is hard to trim away batting excess if you have used the 'sew on an angle to the edge' technique when doing the corners. This is possibly a reason not to do this but to just stop and secure your stitching - I'll try that next time.
Leave a nice big 'gap' to manoeuvre your binding when you mitre the ends.
Both ends of the binding need to overlap by the width of the binding, then cut.
Never trim the mitre before checking you have done it correctly.
Iron the binding well, from the front away from the quilt then from the back folded over exactly to just cover the sewing line.
Sew the four sides leaving a gap at the corners. Come back and do the corners, remembering that the direction of the tuck is opposite on both sides of the mitre - this is how you get it to sit flat.
I have been doing this on Community quilts. Just had a look for some tips and tricks and found this video. I hadn't been using the 10D foot so keen to try that. Also a different way of joining the binding.
Everyone has a different opinion on this. You need to work out what works best for you on your machine.
I have experimented with Jeans needles and Top Stitch needles for machine quilting because they are stronger which should help when doing free-motion quilting. You just have to find them in a Size 80. Also recently have been using Titanium needles for machine quilting with good results.
However, after reading this info below I think I will try some Sharps for piecing as the take on Universal needles makes them seem a bit mediocre.
I am making the Nightingale Quilt as part of the Aotearoa Quilters Summer Stitch Along. It's a very modern quilt made with plain fabrics. I have never made a full-size quilt out of solids before and the colour scheme is modern. I love it so have decided to make mine using (almost) the same colours. I don't usually make quilts from patterns or copy someone else's colour scheme however this is an exercise and challenge for me to use solids, modern colours and a modern design. I have a guest bedroom in need of a fresh quilt so it is being made for a purpose.
I will do a separate post on the accurate piecing needed to complete this quilt.
Also, it has flying geese using a clever way to simplify this process plus this video below on how to then trim them up.
I didn't think I needed a walking foot once I bought my Bernina 770 until I did straight-line quilting one day and got pintucks! So I googled it and apparently I still do. Now I can straight-line quilt with no issues. I had successfully sewn on binding with the dual feed when I had always used my walking foot on my previous machine, but now I use the walking foot for that also. This video is a bit long but very informative about the differences between the two and how they work. Long story short the walking foot is 5x more effective at managing the fabric and the dual feed is 5x more convenient. Don't get me wrong, I love my dual feed for everyday sewing and piecing!